How to Photograph Electrical Parts Before Touching Anything
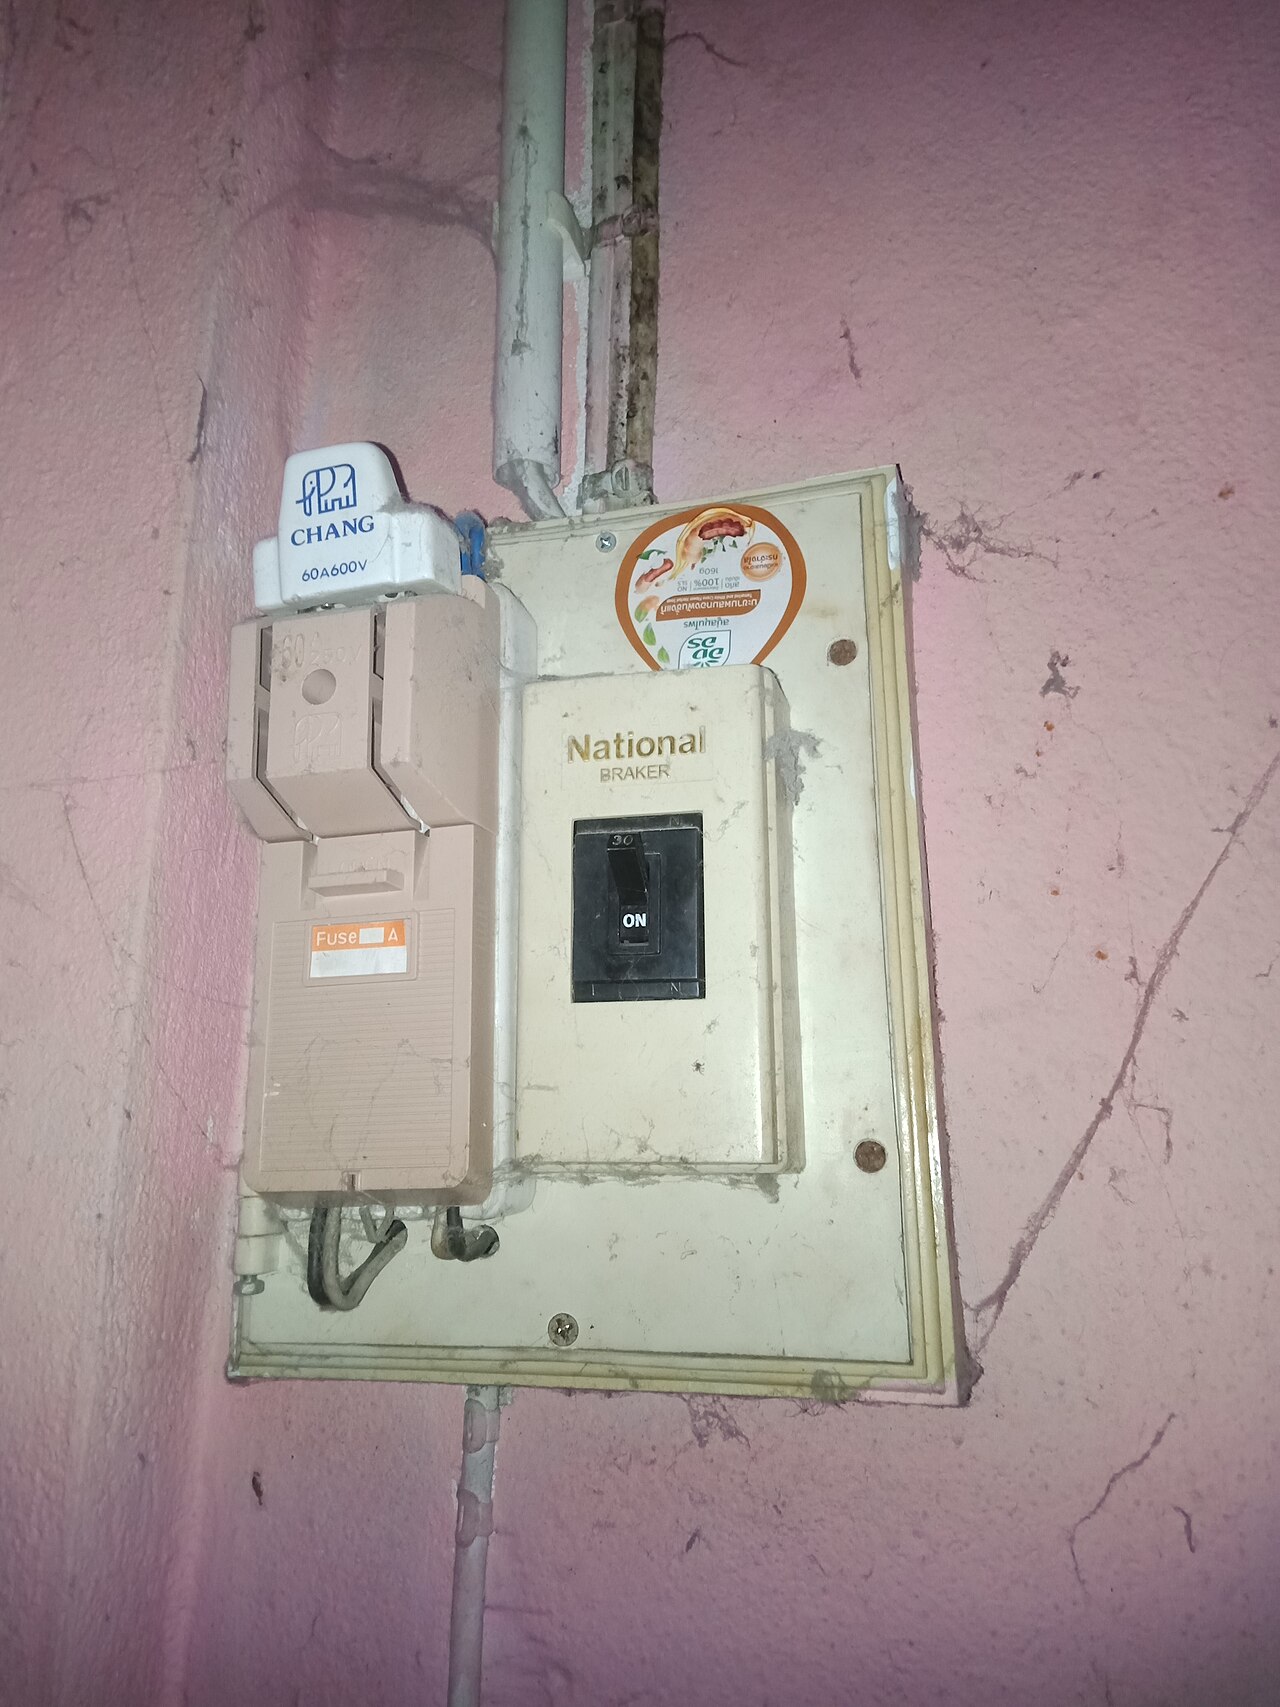
Saturday afternoon in Aventura, the sun hammering the tile roof of a townhouse just off Biscayne Boulevard. Inside the air-handler closet, the control board blinks a fault code and the blower won't start. You pop the service panel, phone already in your hand — because the smartest move before touching a single wire is a clear photo of exactly how everything looks right now.
Safety first: kill the power before you open any panel — flip the breaker and pull the outdoor disconnect. Photos document the wiring; they don't protect you from a live circuit. If you see burn marks, melted insulation, or smell burning plastic, stop and call a pro.
Why should I photograph electrical parts before I touch them?
HVAC wiring runs tight. Terminal blocks hide behind panels, jumper wires loop out of sight, and two wires the same color can do completely different jobs. Pull three connectors for a capacitor swap and it's easy to second-guess which one went where. A photo is a map you can check against: every connector you unplug gets matched back to the original layout before power goes back on. It also shows a customer or a second tech exactly what changed, which builds trust and kills the "it worked before you touched it" argument.
What camera approach gives the clearest detail?
Your phone is enough. Tap the screen to lock focus on the terminal block, and keep night mode off so the flash or work light stays steady instead of firing in bursts. Turn on the grid lines in your camera app to keep shots level — a tilted photo hides which terminal a wire actually lands on. Hold the phone with both hands or brace your elbows against the unit; most blurry panel photos come from one-handed shooting in a dark closet, not from a bad camera.
How do I identify and label each part before I start?
Work big to small. First, photograph the whole panel or compartment with the door open so the overall layout is captured. Then move in: the breaker or disconnect, the control board as a full frame, then close-ups of each terminal block. Next to each photo in your notes, write the wire colors and where they land — "red to R, white to W on the board." If you carry a multimeter, check each terminal for voltage with the power off and note the reading beside the photo. And never trust wire color alone: in home wiring white is usually neutral and green or bare is usually ground, but HVAC low-voltage wiring follows thermostat terminal codes (R, C, Y, G, W) and installers don't always follow them. The photo plus your notes beats color memory every time.
What lighting works best inside a dark unit?
A phone flashlight held at a 45-degree angle to the component beats a straight-on flash — the angled light throws small shadows that reveal terminal screws, wire labels, and connector shapes instead of washing them out. A headlamp is even better because it frees both hands. Avoid shooting into direct sun glare through an open panel door; shade the area with your body or the panel door itself so connector colors read true.
How do I make sure I don't miss a hidden wire?
Slow down at the back of the compartment. Cable bundles tuck behind control boards and along the compressor well where you can't see them head-on. Take one wide photo of the entire area behind the board, then zoom in on each bundle. Look for splices, wire nuts, or any wire that changes color mid-run — those are the spots people forget. If a bundle puzzles you, photograph it and mark it "unknown" in your notes rather than guessing.
What do I do after the photos are taken?
- Review every image. Zoom in on each one. If a terminal label is unreadable or a photo is blurry, retake it now — not after you've disconnected things.
- Label as you go. A strip of masking tape and a marker on each wire ("Y1-cond", "C-board") turns the photo set into a reassembly guide.
- Store them where the next person can find them. Attach the set to the service ticket or a shared folder, not just your camera roll.
- Then start the work. Disconnect, replace, or test with the photos open beside you, and check each reconnect against the original before restoring power.
The video below is a DIY walkthrough of a real home AC repair — a unit that stopped cooling. Watch how the tech works through the inside of the unit, tracing the problem before replacing anything. It's the same habit this post teaches: understand the full picture before you touch a part.
When to call us
If you find scorched terminals, melted wire insulation, a burning smell, or breakers that trip the moment you restore power, stop and call a professional — those are signs of faults that go past documentation. Aventura HVAC Maintenance serves Aventura and nearby areas, Monday through Saturday, 8AM to 8PM. Call (786) 664-2155. No pressure, no upsells — just a tech who'll sort it out.
Need a professional touch?
Straightforward HVAC service with flat, honest pricing — quoted before any work begins.
No review discounts · no upsells.