No-Rinse Coil Cleaner: How to Apply It Right
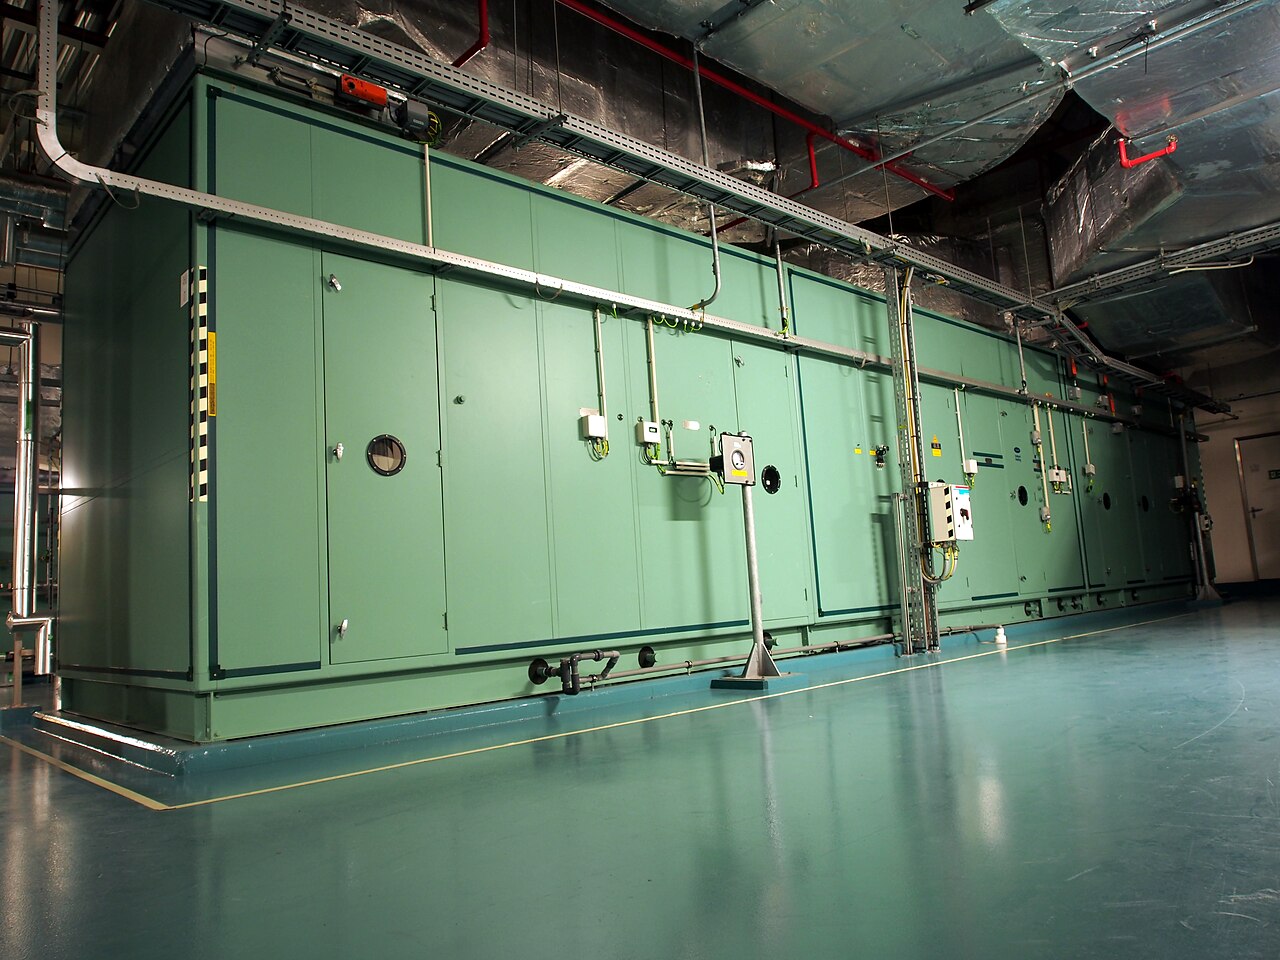 The humidity hung thick over Aventura Boulevard at 2 p.m. last Tuesday, the kind that makes your shirt stick before you reach the truck. A homeowner on NE 190th Street called because her upstairs unit had been running nonstop for three days and the electric bill had jumped noticeably. When I popped the access panel on the air handler, the evaporator coil looked like a dusty window screen — gray fuzz clogging every fin, blocking airflow so the blower had to push twice as hard. She asked if she could just spray something herself next time. That question comes up on almost every maintenance call in this corridor.
What is no-rinse coil cleaner and how does it work?
No-rinse coil cleaner comes in an aerosol can. Inside is a blend of surfactants — soap-like chemicals that lower surface tension — plus mild alkaline builders that break down organic gunk. When you press the nozzle, the propellant pushes the liquid through a foaming tip. The foam expands well beyond its liquid volume, filling the narrow passages between coil fins. Think of the coil like a radiator in a car. Air passes through thin metal fins that carry refrigerant. Dust, pet hair, and microbial film act like a blanket. The foam penetrates that blanket, lifts the debris, and turns it into a liquid that gravity pulls down into the drain pan. Because the system produces condensate every cooling cycle, that water carries the loosened crud out through the drain line. No garden hose, no wet vacuum, no ladder work on the roof.When should you clean the coils yourself?
DIY coil cleaning makes sense when the buildup is light to moderate — a gray fuzz you can see with a flashlight, or a musty smell that appears only when the blower starts. If the coil looks like a solid felt mat, or if you see greenish-black patches that smear when touched, that's heavy microbial growth. Those coils need professional HVAC deep cleaning with stronger solutions and a low-pressure rinse wand. Another DIY limit: access. On many Aventura high-rise units, the evaporator coil sits inside a sealed air handler closet with less than twelve inches of clearance. If you can't get the spray nozzle within six inches of the fin face, the foam won't reach the back rows. Condenser coils on ground-floor patios are easier — just remove the fan guard, spray through the grille, and replace the guard.What tools and safety gear do you need?
Gather these before you start: - One 18-ounce can of no-rinse coil cleaner (most hardware stores carry it) - Safety glasses — foam can splash back - Nitrile gloves — the alkaline solution irritates skin after a few minutes - A flashlight or headlamp - A fin comb (optional, for bent fins) - A shop towel for overspray Turn off power at the thermostat and the breaker. On the outdoor unit, pull the disconnect box near the condenser. Verify the fan isn't spinning. Wait five minutes for any residual charge to bleed off. This isn't optional — the blower motor can start unexpectedly if the thermostat calls for cooling.How do you apply no-rinse coil cleaner step by step?
- Expose the coil. Remove the access panel on the air handler. For the condenser, unscrew the fan guard and lift it carefully — the fan motor wires stay connected. Set screws in a magnetic tray so they don't fall into the unit.
- Brush loose debris first. Use a soft nylon brush to knock off surface dust. Don't use a wire brush; aluminum fins bend with very little sideways force, and a wire brush will flatten them. A gentle sweep clears the path for foam penetration.
- Shake the can two minutes. The propellant and surfactant separate in storage. Full agitation ensures consistent foam density. You'll hear the ball bearing rattle — that's the sign it's mixed.
- Spray upright, six to eight inches back. Start at the top left corner. Move in horizontal passes, overlapping each row by half the spray pattern. The foam should cling and expand, not run immediately. If it runs, you're too close or the coil is too warm — foam collapses on hot metal, so spray a cool coil.
- Let it dwell fifteen minutes. Set a timer. The foam will collapse into liquid and drip down into the drain pan.
- Restore power and run the system. Set the thermostat to cool, fan on auto. The blower pulls air across the wet coil, and condensate flushes the residue down the drain. Run thirty minutes minimum.
- Check the drain line. Pour a cup of water into the drain pan near the outlet. It should flow freely. If it backs up, the loosened debris clogged the line — that's a pro call.
Why does foam work better than liquid spray?
Imagine pouring water on a vertical window screen. Most runs off before it can dissolve the dirt. Now imagine spreading shaving cream on that same screen. The foam clings, giving the surfactants time to break the bond between dust and metal. That's the same principle here — dwell time equals cleaning power. The second analogy: think of a dirty dinner plate. A quick rinse leaves grease. Soak it in soapy water, and the grease lifts without scrubbing. Foam is the soak for a vertical surface. The alkaline builders (usually potassium hydroxide or sodium metasilicate) saponify oils — they turn fats into soap that rinses away. That's why no-rinse works on the oily film from cooking aerosols that settle on coils in open-concept kitchens.What mistakes ruin the job?
Spraying a hot coil. If the system just shut off, the coil can still be hot. Foam collapses in seconds on hot metal. Wait until the metal feels warm, not hot — early morning or evening in South Florida summer works best. Using two cans on one coil. Excess foam floods the drain pan, overflows into the insulation, and creates a wet spot that grows mold. One can per standard 3-ton evaporator. Larger commercial coils need proportionally more, but that's not a DIY job. Skipping the brush step. Loose dust turns to mud when foam hits it. That mud packs tighter between fins, reducing airflow more than the original dust. Five minutes with a soft brush saves an hour of reduced capacity. Ignoring bent fins. If you see flattened rows, airflow is already compromised. A fin comb (a few dollars at any supply house) straightens them. Comb before you spray — foam in bent fins wastes product and hides the damage.How often should coils be cleaned in South Florida?
Coastal salt air accelerates corrosion. Pollen season runs February through May. Hurricane season brings airborne sand and organic debris June through November. For a typical Aventura home with pets and no whole-house filtration, clean the evaporator coil every twelve months and the condenser every six months. Homes with high-MERV filters (11 to 13) can stretch the evaporator cleaning to every 18 months, but check the condenser visually every quarter — salt and debris don't care about your filter rating.The video above is "15 Air Conditioner Maintenance Tips" from the Word of Advice TV channel — a plain, hands-on walkthrough of the maintenance checks a homeowner can do on their own system. The presenter goes through all fifteen: uncovering the condenser, cleaning the condenser coil, checking for chewed wires or mouse nests, inspecting the capacitor, checking the suction-line insulation, leveling the condenser pad, test-running the system early in the season, clearing the condensate drain line, changing the air filter, and checking the blower wheel. Most of it is the same kind of seasonal attention the coil-cleaning steps above describe — look at your system, clean what you can reach, and catch small problems before they become service calls. The drain-line and coil-cleaning tips pair directly with the no-rinse cleaner job: a clean coil and a clear drain line are two halves of the same fifteen-minute habit.
When to call us
DIY is great, but some jobs need a pro. If the problem persists, you spot anything dangerous, or you'd rather have an expert handle it, call (786) 664-2155 — Aventura HVAC Maintenance serves Aventura and nearby (Mon-Sat 8AM-8PM). No pressure, no upsells.
Need a professional touch?
Straightforward HVAC service with flat, honest pricing — quoted before any work begins.
No review discounts · no upsells.